
Smart lighting control with Casambi
Casambi is an advanced lighting control solution based on Bluetooth Low Energy.
The Casambi technology can be integrated into luminaires, LED drivers, LED modules, switches, sensors, and various types of control modules.
A wide range of luminaires from the mawa portfolio can be controlled via Casambi using a smartphone, tablet, or the Casambi Xpress. With the Casambi app, luminaires can easily be switched, dimmed, faded, or used to create complex lighting scenes and groups.
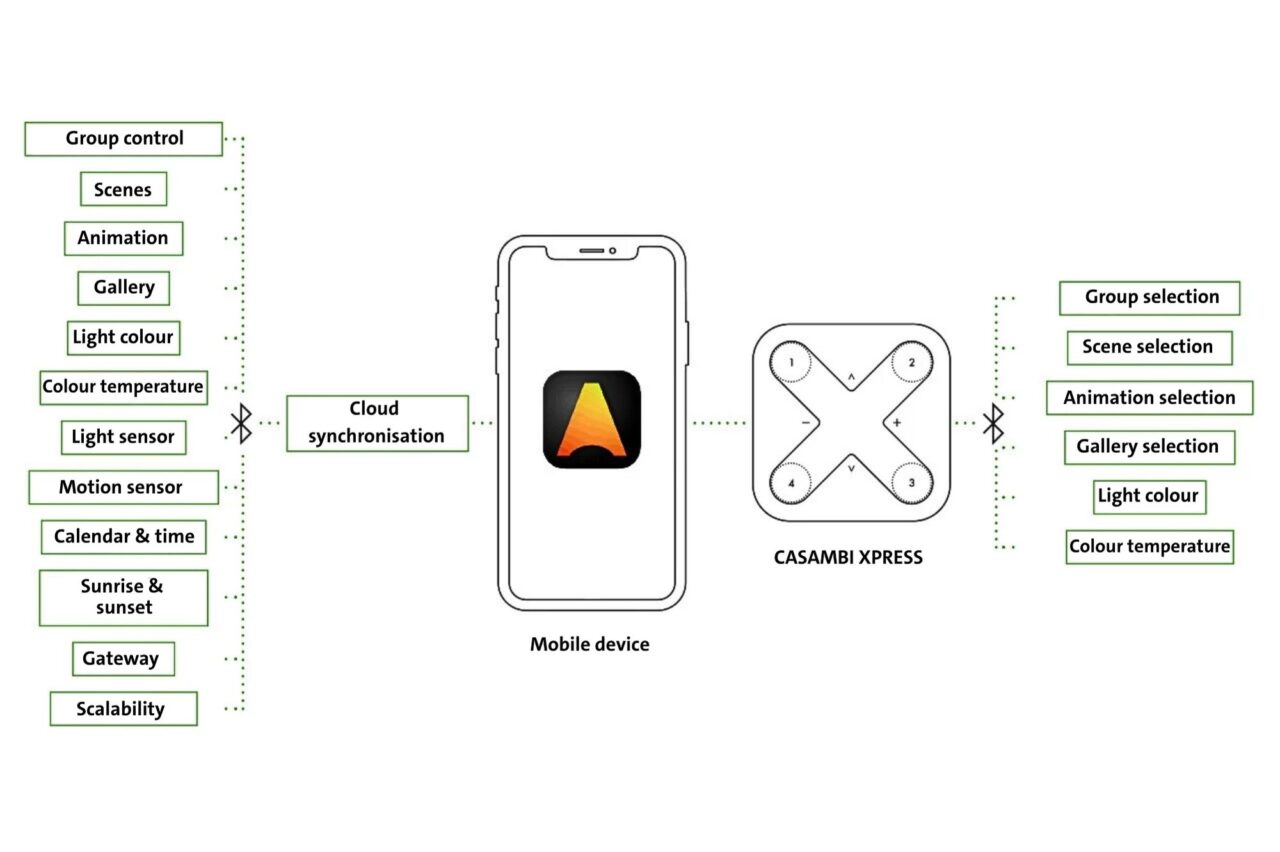
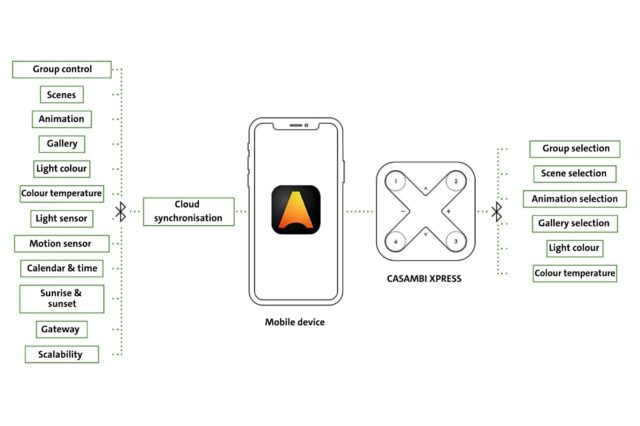
The Casambi app is compatible with both iOS and Android devices and can be downloaded free of charge from Google Play and the Apple App Store.
Casambi Xpress is a smart wireless switch that can also be configured via the app.


Design light scenes with the Casambi app
The manufacturer’s manual from Casambi
Our short guide walks you through the quick setup and use of the Casambi app.

First-time use of the Casambi app
For detailed information, please refer to the Casambi manual.
The »Luminaires« tab
For detailed information, please refer to the »Casambi manual«.
The »Group« tab
For detailed information, please refer to the »Casambi manual«.
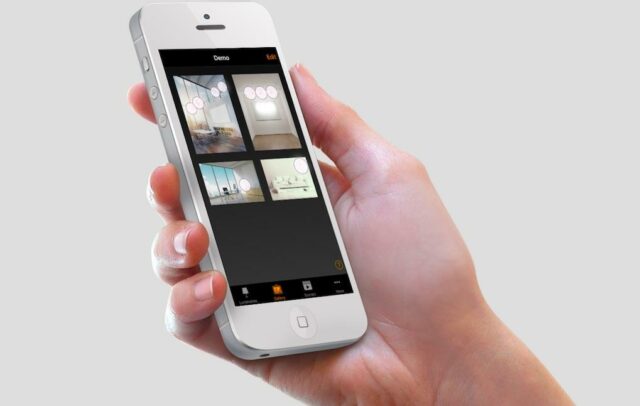
The »Gallery« tab
For detailed information, please refer to the »Casambi manual«.